


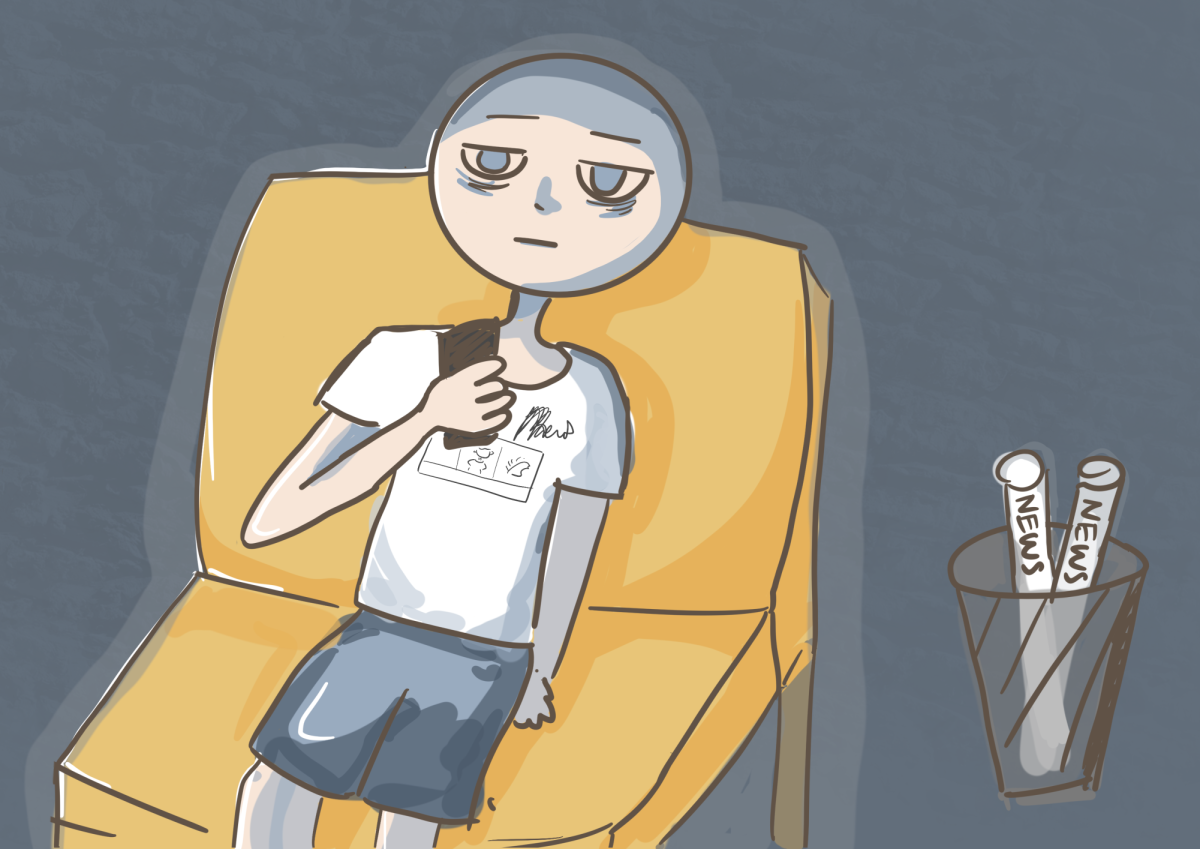


Though I’ve been doing digital art for two years now, I only recently realized how many time-saving tools I had been overlooking in my program of choice.
I started doing digital art the summer before I joined The Falcon in my sophomore year. With my iPad, I spent $10 to download Procreate — a popular digital illustration app designed specifically for the iPad. I had previously worked only with physical materials, from pencil and charcoal to watercolor and oil paint. However, I wanted to bring my art skills to the newspaper, which meant learning how to draw digitally.
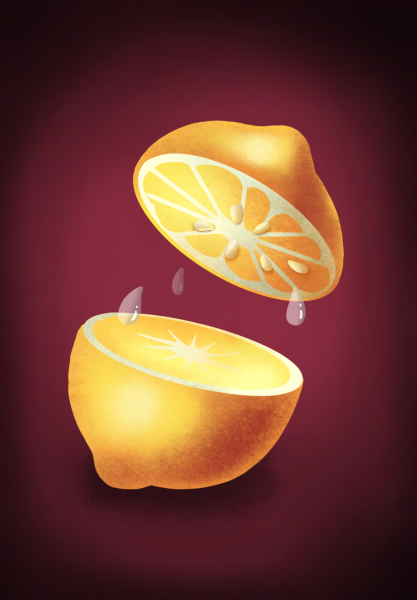
Excited to begin drawing immediately, I followed along to a short beginner tutorial and created my first digital illustration: a lemon.
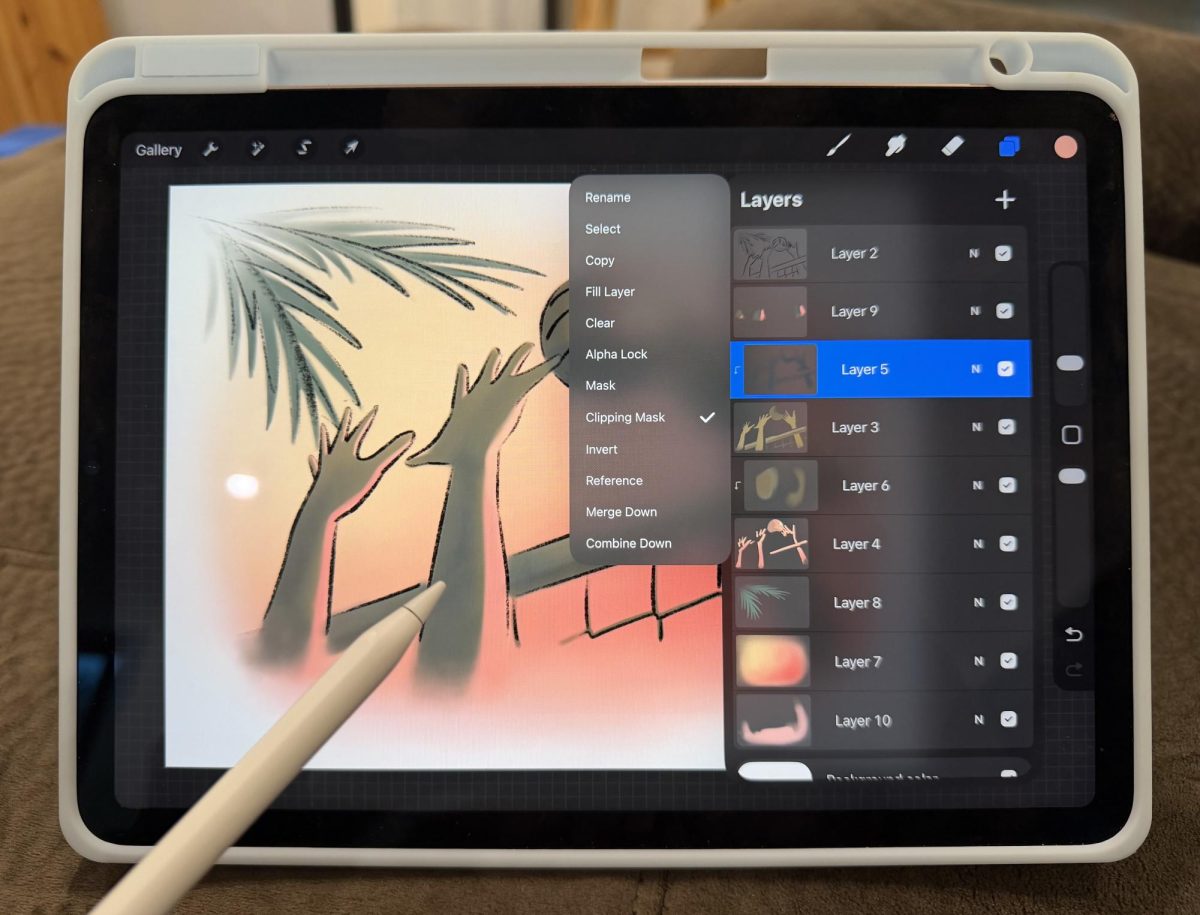
This tutorial introduced me to Procreate’s basic functions, which were all completely new and exciting to me. Compared to physical art, digital art opens up a completely new set of tools. You could experiment with different colors with ease, and mistakes could be reversed with a simple two-finger tap — so much more forgiving than traditional art. One of the most important features was layers, which allowed you to draw cleanly on top of a previous sketch, rearrange elements and erase one layer without affecting the rest.
Once I understood the bare-bones functions, I jumped straight into making graphics for the newspaper. Due to my physical art background, I remained most comfortable with paper- and pen-like functions — I mostly stuck to simple brushes, the eraser tool and the color selector, almost mirroring how I would draw on paper. As a result, many seemingly simple graphics took me way longer to do than I’d like to admit.
Over the next two years, I gradually learned the ins and outs of Procreate and experimented with different brushes and drawing styles. When I needed a specific feature like blurring, I would search for a tutorial — and sure enough, the function almost always existed.
But for simpler tasks, I resorted back to the brush, eraser and color selector, manually doing things the app could probably do several times faster. Although these methods were sufficient in achieving what I wanted to create, I now think back to how much time I could’ve saved and what other effects I could’ve used if I had simply learned more about existing tools such as the smudge tool and how the Colordrop autofill tool could be adjusted.
Now, as a second-semester senior with a little more time on my hands, I decided to tackle a task I had been procrastinating for two years: finally learning how to use Procreate to its full potential.
To do this, I went back to YouTube and watched all four of Procreate’s official beginner tutorial series. Through these videos, I discovered dozens of small features, many of them simple gestures, that make the app more convenient.
One of the more significant discoveries was the smudge tool. It’s represented by a small hand icon on the tools bar right between my frequently used brush and eraser tools, yet I had somehow never pressed on it. I had seen aesthetic videos online of artists blurring two dots of color together. For whatever reason, I had never figured out how to do it myself despite having searched for it previously.
I learned several basic gestures, which included holding two fingers on the screen to rapidly undo several brush strokes and holding three fingers to rapidly redo (I only knew about two-finger and three-finger tap to undo and redo one stroke at a time). Additionally, scrubbing three fingers back and forth allows users to clear the entire layer. And holding one finger on the screen instantly activates the color dropper tool, allowing users to pick up any color on the canvas to use — a function I had been accessing through a far more inconvenient series of taps.
But the shortcut that saves me the most time involves the ColorDrop autofill tool, where you can drag the color icon into a shape to instantly fill it with that color. The problem was that whenever I tried to use it, the fill would only work if the shape had absolutely no gaps in its boundaries. Even the smallest holes would cause the color to fill the entire canvas.
To combat this, I would zoom into the edges of my shape and painstakingly search for tiny gaps, manually sealing them one by one. This was a frustrating process and also limited me from using the function with textured brush strokes, as many of them naturally have small holes in them.
It turns out there was a simple solution all along.
After dropping the color into the shape, if you keep your finger on the screen and slide it left and right, you can adjust the fill “threshold,” or how tolerant the tool is when detecting boundaries. Dragging to the left toward 0% keeps the fill more contained, ignoring small gaps in the perimeter, while higher thresholds allows the color to spread further into all the little nooks of your shape. If I had known this trick two years ago, it would have saved me hours of work and frustration.
Beyond that, I also discovered features like symmetry guides that mirror your strokes automatically. You can even open up gridlines, 2D and 3D, and even perspective lines to assist with your illustrations. Finally, Procreate also has dozens of special effects and basic animation functions. While these tools aren’t as applicable in the simple graphics I predominantly make, they open the door to much more complex illustrations that I look forward to exploring.
The moral of this story is this: I wish I had taken the time to learn the app more thoroughly when I first downloaded it. But I’m also glad I finally did learn the program more thoroughly — because now, instead of working around the tools, I can actually use them as intended.
